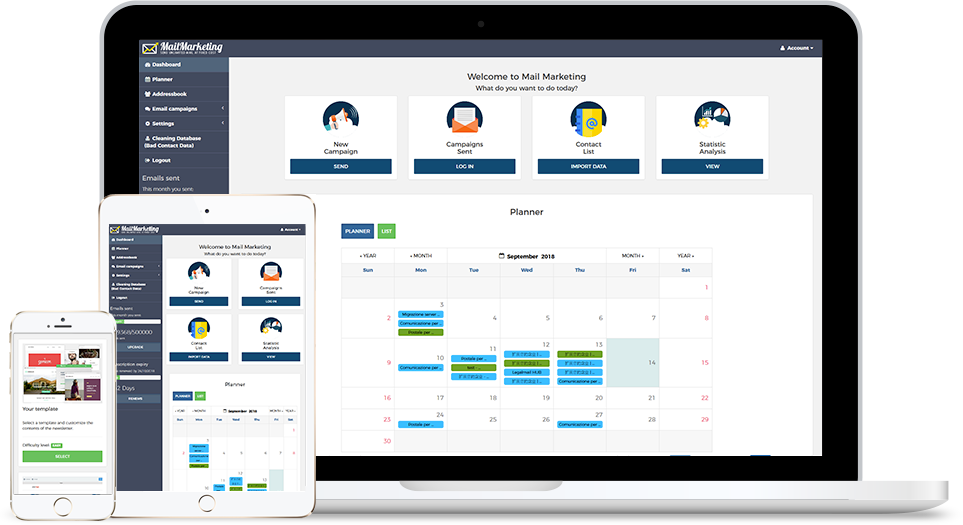
From now on you can customize your Newsletter even more by choosing the most suitable audience for your communication
We have implemented a new feature within Mail Marketing, which will allow you to filter the recipients of your mailings and make your newsletters more personalized. A quick and easy way to segment your audience without having to create separate address books for each target audience.
With the new Mail Marketing Filters function you will be able to create ad hoc campaigns for your audience: in fact, you could reach selected contacts with messages adapted as much as possible to their needs and characteristics and, as a result, you will have more opportunities to attract their attention than if the same messages were intended for a general audience.
This option can be activated in Step 4 ("Select Target") of the newsletter creation process: by clicking on "Filters", below the list of your address book(s), you can select one or more alternatives.
Specifically, you will have the possibility to choose the recipients according to the inclusion or exclusion of these elements:
- Email addresses
- Previous sendings
- ZIP CODE
- City
In addition, you also have 4 free fields that you can customize according to your needs. How? By clicking on Settings > Custom Fields: simply modify the free fields 1/2/3/4 conforming to the information you want to filter and then, before sending the newsletter, you can select your own filters.
When you have chosen your address book, by clicking on the tick next to each filter you will be able to select "Include" or "Exclude" according to your needs and enter the word/number/email address that characterizes the selection of your target.
For example, if you want to build a campaign dedicated only to people living in a specific city, just click on "City" > "Include" and, in the blank space, write the name of the desired city (it can also be more than one).
Or, if you want to dedicate a newsletter only to one type of buyer (e.g. Business vs Consumer), you can create a custom field called "Customer type", click on "Include" or "Exclude" and write the keyword in the free field.
There would be plenty of examples: you may also want to select more than one filter at the same time, depending on how you want to target your audience.
In general, we recommend that you correctly set up your address book from the beginning, so pay attention to the division of the columns within the file you're going to upload to the software, but above all to the right composition of the words you want to filter within the list of recipients.
For setting up and uploading the contact file(s) to Mail Marketing, you can refer to this Guide.
Now it's time to get down to business! Create your email marketing campaign and segment your list with the corresponding filters: this is your chance to create a communication as targeted as possible towards your audience, why waste it?
Related article
- Automate your emails with the new Feature Marketing Automation
- How to create an effective customer email strategy (without spamming)
- Lead magnet: what it is and how it can help you to increase your email contact list
- 5 Fundamental Techniques for Building Your Contact Lists
- The Drug and Drop Editor is enriched with two new features
- Smart ways to use Custom Fields in your newsletter


